Cabinetry Articles & Guides

Understand cost breakdowns, how to choose the perfect bathroom vanity, perfect hardware pairings, the latest kitchen trends and more.

— Don't Miss Any New Articles —

How to Measure Your Space for Custom Cabinets

Measure Your Space Like a Pro to Prepare for a Remodel

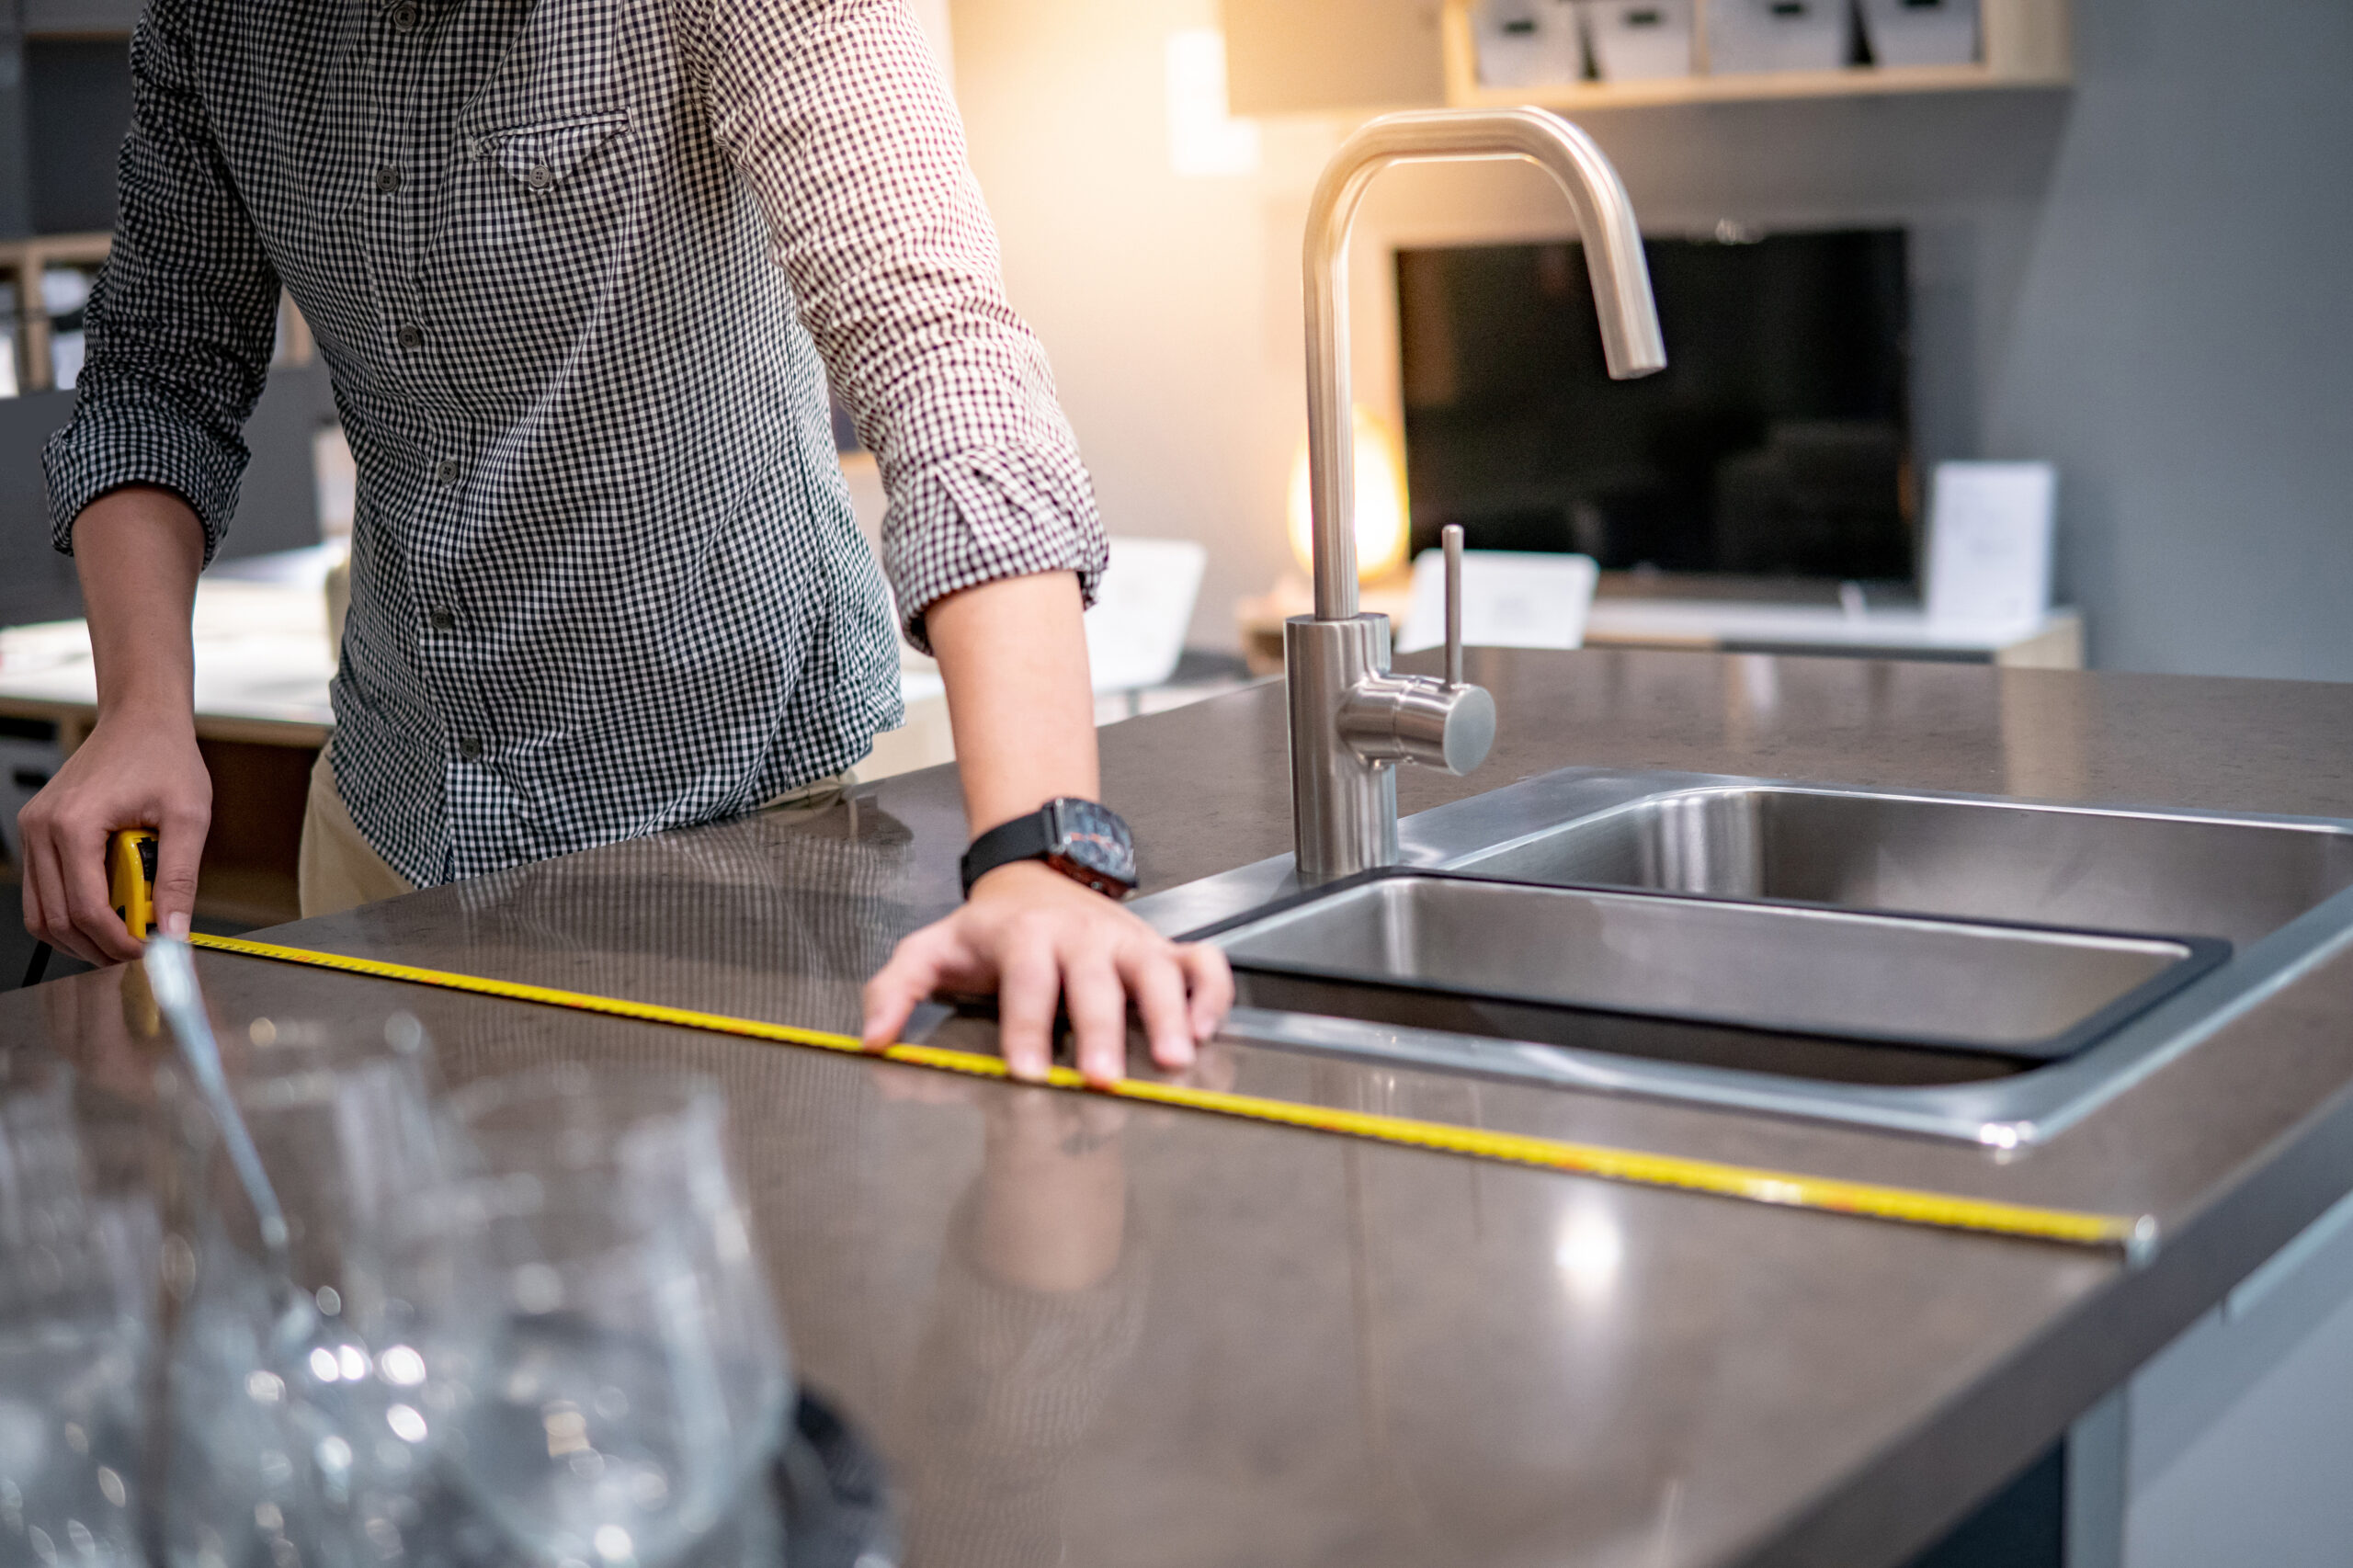
Thinking about custom cabinets? Step one is simple—and it starts with a tape measure.
Before we can build a design or budget together, we need one thing from you: preliminary measurements of your space.

This isn’t about perfection—it’s about giving us a solid starting point. These initial measurements help us create your first set of 3D renderings and provide a ballpark estimate before we dive deeper in the showroom.

In this guide, we’ll walk you through how to measure your space step-by-step.

Why We Ask You to Measure First

After your first discovery call with our team, we send you home with some "homework"—but don’t worry, you don’t need to be a contractor to do it. All we need are basic wall and appliance measurements.

These numbers help us:

  • Understand the layout of your space

  • Design accurate renderings that reflect your vision

  • Create a first-round estimate that’s grounded in reality

  • Save time during the design phase in our showroom

What You’ll Need

  • A tape measure (ideally 25 ft or longer)

  • A pencil

  • A notepad

  • A step stool (if you need to reach higher points)

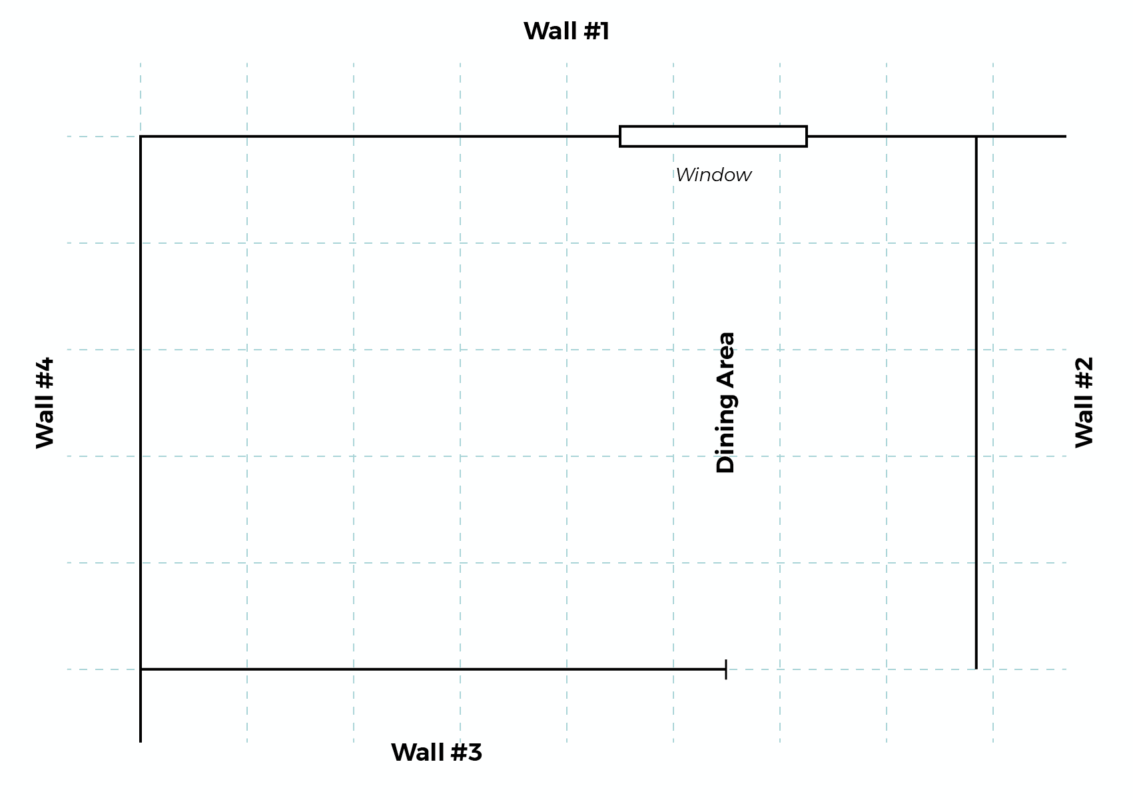
The first rough draft of your floor plan should look similar to the example below. While it doesn't need to be exactly to scale, your sketch should be neat, clear, and accurate.

Tip: Take photos of your kitchen so you can compare before and after pictures of your kitchen makeover.

How to Measure Your Space – Step-by-Step

1. Draw the Room Outline

Start by sketching a bird’s-eye view of your room. Don’t worry about art skills—it’s just a basic box layout. Mark windows, doors, and wall breaks.

Pro Tip: Label each wall (Wall A, Wall B, etc.) to stay organized.

2. Measure Each Wall

Measure the full length of each wall from corner to corner.

Record the total length in inches.

Example: Wall A = 144 inches

3. Add Doors and Windows

Measure the width and height of each door or window.

Note the distance from the nearest corner to the edge of the door or window.

Don’t forget to note sill height for windows if cabinets will go underneath.

4. Locate Key Appliances

Mark where the following will go (or already are):

  • Sink
  • Stove or cooktop
  • Refrigerator
  • Dishwasher
  • Microwave or wall oven

Measure their width and height. If possible, jot down model numbers or bring photos with you to our showroom.

5. Ceiling Height & Obstacles

Measure floor to ceiling height in a few places.

Note any soffits, beams, bulkheads, or angled ceilings.

Include vents, outlets, or plumbing that can affect cabinet layout.

6. Double Check Measurements

Check your numbers twice.

Make sure opposing walls match (e.g., wall A + wall C = similar length if room is square).

Don't worry if it’s not perfect—we’ll verify everything later during the on-site visit.

What to Do Next

Once you’ve completed your measurements:

Email us a photo of your drawing

We’ll use it to create your first 3D rendering

You’ll receive an initial estimate based on layout and cabinet choices

Then we schedule a showroom appointment to refine design, materials, and budget

Why This Step Matters for Initial Design & Budget

Many homeowners don’t realize that their initial measurements are the key to unlocking the entire design process. It's how we move from ideas to visuals—and from inspiration to investment.

No measurements = no design = no pricing.
And we want to get you pricing fast, so you can move forward confidently. You'll quickly be able to see your vision come to life, and we'll be able to quickly get you accurate pricing. Initial renderings look like the example below, but final renderings are photo-realistic.

READY TO START?

EXPLORE CABINETRY OPTIONS

DESIGN READY CABINETRY

A curated collection of door styles and finishes — handpicked for quality, trend, and value. All plywood construction and soft-close doors and drawers.

CUSTOM CABINETRY

Thousands of door styles, painted finishes, stains, and custom color-matching and glazes. Every detail designed around your vision. Made in the USA.

STORAGE ACCESSORIES

Handcrafted in northeast Ohio, home to the world's largest Amish community, ensuring top-notch quality and craftsmanship.

READY TO GET STARTED?

Talk to a Designer

Schedule a free consultation call to speak with a designer. Share a few details about your project and we’ll guide you through design options, timeline, and a realistic investment range.


EVEN MORE TO EXPLORE

OTHER POPULAR ARTICLES